Hello.
Finally as they say, Spring is round the corner.
The Fanalone on which I reported last year is located in an area which is about 800 metres ( about 2700 ft) above sea level and given the fact that this location is in South Eastern France, snow inevitably has to have its say. This year temperatures dropped to as low as -17° and there was 50cm of snow. The recent gradual thaw meant that I could get back to it.
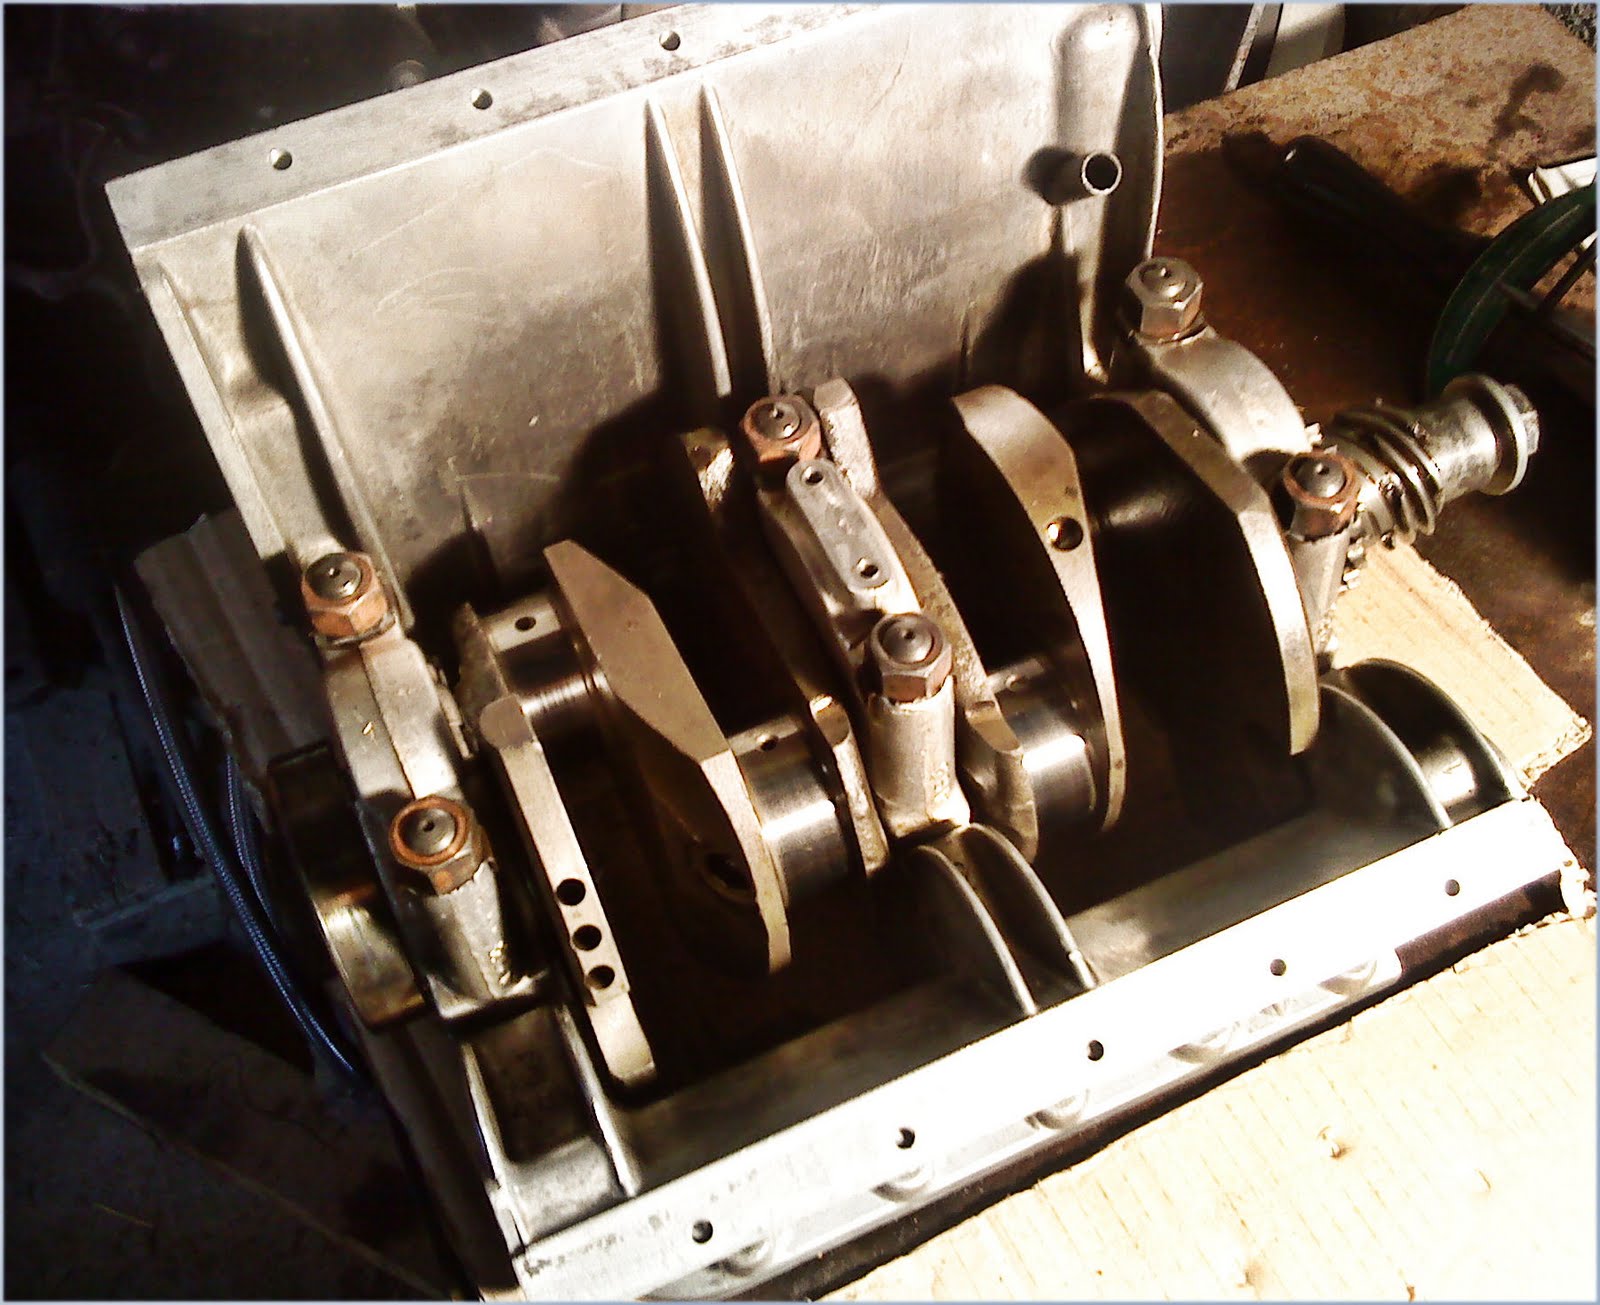
I removed the rest of the engine from the subframe and stripped it down. After nearly ten years, 26 rallies and plenty of road miles too, I was not optimistic but was pleasantly surprised. There is no significant wear to the bores which are in excellent condition as is the crankshaft (supplied secondhand at the time of the Evolution Engineering rebuild that I did). But the big shock was the condition of the lower centre main bearing shell, as you know the Fulvia's Achilles Heel - or arguably, one of them! I apologise for the photo quality - light was difficult.
 All the main bearings were perfect! And I should add that the rev-counter tell-tale reads 9000 rpm, the result of a "buzzing" during a "yump" on a rally. There is no need to replace them - to do so would simply be an unnecessary extravagance.
Some of the big ends have marks and will be replaced. the owner has a set of bearing shells, but these are reticular tin easily recognisable by their silvery finish whereas the correct bearings should be lead indium which are grey in appearance. These will be purchased.
I shall replace the piston rings, merely as a precaution and to ensure that performance remains optimum. 1600 Fulvias always seem to wear their timing chains rather quickly, probably because the chain is really a little on the long side: when Lancia developed the 1600 the increased stroke meant that the block was 12.3mm taller than the 1300's. This of course meant that the timing chain had to be longer. About one to one and a half links would have been ideal, but of course this is impossible so 118 links it had to be with a larger tensioner to take up the slack. So the chain will be replaced.
The oil pump is in excellent condition and will be refitted.
Now then the point of all the foregoing blurb! The owner is absolutely rigid on two points: first, she will never race a cold engine and on the road will cover five miles before she applies any heavy right foot. Second she insists on using only 100% synthetic oil. The oil we have used in this car since it was built in 2001 is AGIP Racing 10W/60 fully synthetic. I have argued in the past that any reasonable modern oil is much better than the products available when the Fulvia was made, but I have to say the results speak for themselves - and after all, I have always said that a can of oil is always cheaper than a new engine.
Having wrapped up and packed away the various parts pending the arrival of the bits and pieces I shall need to do the rebuild, I then removed the gearbox from the subframe as this will be replaced, the owner happily having a spare! She has never been happy with the original, I agree: it is not very nice. It is also bloody heavy. Fulvia gearboxes are heavier than they were 25 years ago or so when I first started lifting them...
The subframe pictured below is much filthier than my rotten photo shows! When conditions improve outside, it will of course be properly cleaned, the replacement gearbox installed and then the S1 1300 steering box, which is excellent as 1300 steering boxes usually are, installed. I mentioned this in an earlier piece.
 The plan is that after the bottom half of the engine is built up, I shall then have a look at the head. We have some replacement Fanalone rockers to fit - regular readers will recall we had some rocker and camshaft trouble a while back, and there is a set of new valve springs too.
I'll do my best to make some better pictures next time.
Meanwhile if YOU are anywhere near here - i.e. close to Geneva, then get in touch - I want some Fulvias here to work on!
A bientôt